Blog
How to Connect a REL to Class D Gear

With so many new RELs finding homes this time of year, and many first-time owners running AV receivers which are increasingly migrating to Class D, we thought this was a perfect time to guide new owners through how to properly connect their new REL to a Class D amp or receiver.
Hot Tip:
If you pick up the receiver and it simply feels incredibly light compared to the boat anchor receiver you used to own, it’s likely a Class D. Of course, you should still verify this with the manual or by contacting the manufacturer.
One of REL’s great advantages over conventional subwoofers is our filter architecture and the precise way that we connect High Level. But different amplifier types require slightly different methods for connecting our High Level cable. We’ll be looking at Class D amps and how best to connect your REL to this style of amplifier. Don’t know if your amp or receiver is Class D? First, call the manufacturer and ask, explain why you are asking. We have had good results with almost every manufacturer except a certain Japanese manufacturer whose 4-letter name begins with S and ends with Y. Over 2 hours on repeat phone calls left us as frustrated as you will surely be with that experience.
The Problem:
So, why does a Class D amp require a different connection than a traditional Class A/B amp? There is something done to the ground plane that is unique in our experience. See, ground should be exactly what it sounds like—a return path of energy back into Mother Earth. For every action, there is an equal and opposite reaction and for every outflow of electrical energy, there must be a proper, full return of that energy back to earth.
Here’s where Class D amps get weird (not all, but about 90% exhibit the anomaly I will describe next). The Black speaker terminals on the rear of your amp traditionally, and by electrical convention, mean Earth Ground. Zero ohms, zero Hz. Ground. But with most Class D amps, that Black-colored speaker terminal* is no longer ground. Worse, it actually references to a positive voltage that is significant. We consistently measure 10-15 volts ABOVE ground. In practical terms, if your REL were mistakenly connected to a Class D amp or receiver the input of the REL would eventually be burned out because it would be pulling 15 volts through a circuit designed to see zero voltage. Over some period of time—months or a few years, this unwelcome voltage will burn out the front end of your REL.
The Solution:
Fortunately, the solution turns out to be both easy and inexpensive—potentially no cost difference at all if your system is theater-based.
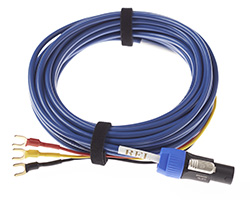
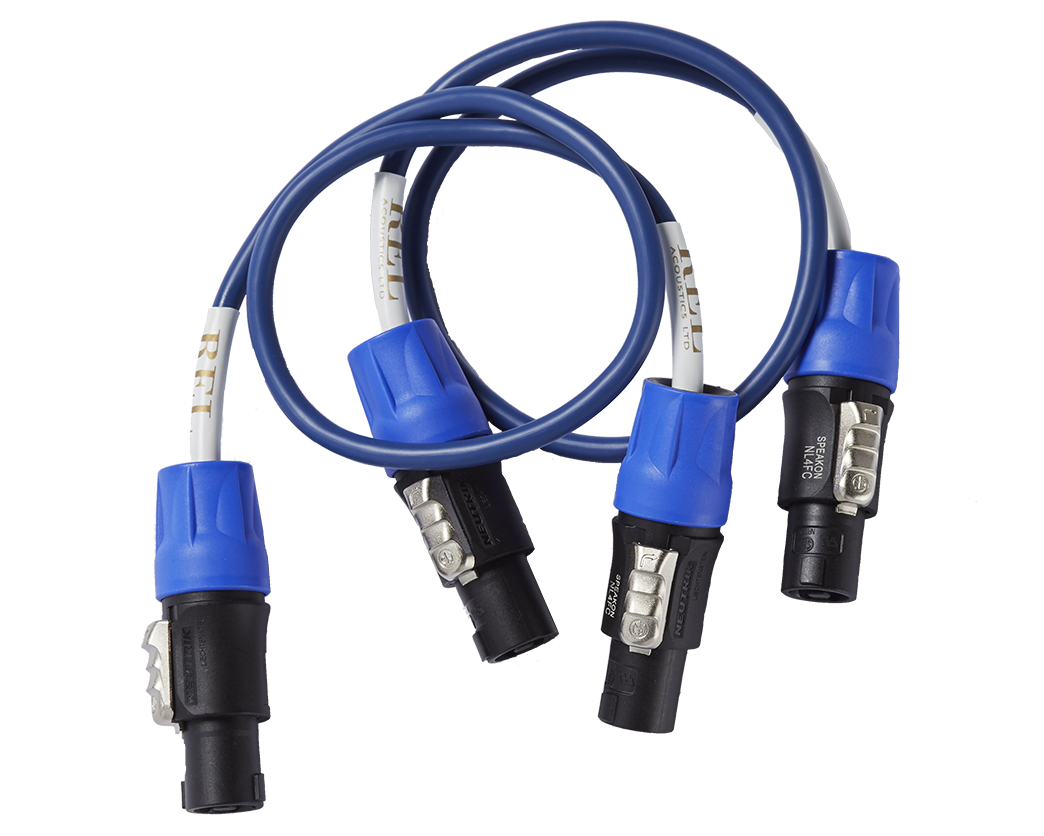
- On the REL High Level cable go ahead and connect up the Red (R+) and the Yellow (L+) leads as usual. “Float” the Black wire (do not connect it to anything), in fact, snip off the portion that is pre-stripped and wrap it in electrical tape to avoid accidental shorting out later on.
- Next, connect a long RCA-RCA interconnect from either an unused input on a preamp or receiver to the REL’s .1/LFE input. Do this even if you have no interest in theater, you are creating an audio ground, nothing more. This is true for 2-channel systems, we are not using the .1 LFE input for anything more than to produce ground.
- If you are running this in a theater system, you’re done; run your usual .1/LFE cable and float the black wire and you’re done.
*One final call out, NAD recently introduced two new integrated amplifiers. We would like to commend them for specifically choosing Blue for their “Non-Hot” speaker terminal. Rather than Red/Black, the Red/Blue scheme gets people wondering why the color is different.
Along with our friends at Peachtree Audio, the NAD folks also added an old-fashioned knurled chassis ground bolt which makes it even easier than we described to obtain true ground on this style of amp. We salute these customer-centric companies.
In the case of a chassis ground bolt like this, please DO connect the Black wire to this bolt.

